On my project I was trying to figure what color to paint it. I was thinking about doing multiple colors on the project piece. But the problem with that was that on my project I have like these spheres at the top of the sides and a little in the middle I think. I also have like theses lines following along side the square like project. So to do multiple colors would have been hard so I decided to just go all one color which I chose to be red my favorite color.
This post is all about my ceramics project which was to make a morphing project. At first I didn't know what to make my ceramics project out of. Then I had got an idea from a project I've done before from a different art class and decided to make a hand and put the Eye of Horus in the middle of the palm. Now everybody thinks the eye of Horus is a bad symbol symbolizing and is . But what it really means is Royalty, good health, and protection.
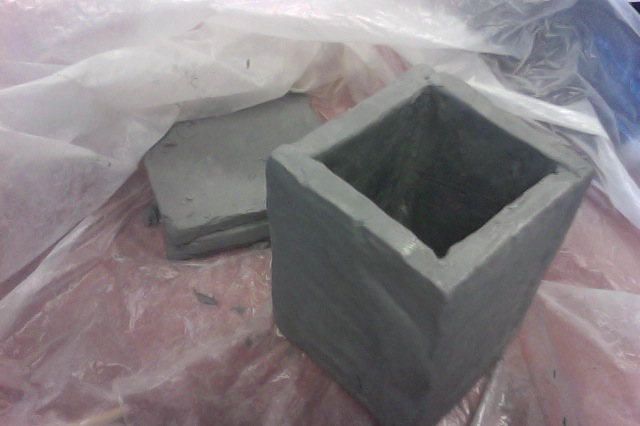
The reason for me to choose the morphing idea that I chose, is to be unique, and show a little bit of what I'm about all on the hand. The thoughts on my mind while beginning the project were, how am I going to express myself through my artwork? What signs best represent myself? And how am I going to put the eye in the middle and how do I want it to look? My inspirations for this project was talking about Egyptian symbols and that gave me an idea of the Eye of Horus and the hand came from the idea of looking at my hand. The whole idea of my project was mainly to express myself by telling you about myself by carving signs and words on the hand. The part that got the whole symbol thing was the Eye of Horus. I carved a ditch in the middle of the hand where I wanted the eye to be then I placed the eye in the ditch and got an expo marker and used the back of it to print the pupil on the eye. Then I got some clay and made two coils one on top of the eye and one on the bottom, Then after that I rubbed the coils till they looked like eye lids. Then after that I began putting other symbols the resembles me. My project was hard to think about at the beginning but the way it looks you can see the coils from the inside. How I started off I began with just a square and started making a wall with coils didn't really know what I was trying to do with it so I just kept putting coils on top of coils and smoothed the outside and attempted to smooth the inside but just decide to leave it the way it was so you can see the coils. My project which I think i'll just call the coil basket because of how the coils stack on each other on top of the square base make the object look like a basket of some sort. But anyway with my coil basket I wasn't really trying to make anything particular I just pretty much winged it because I had no set idea of what I wanted my project to look like. So I just made a square slab and stacked coils on the perimeter of it. Then after all that was done and I felt I reached a reasonable height with the coils I smoothed the outside of it out put two textures on it and was done with it. In conclusion of my three paragraph essay about my project the Coil Basket, I think it turned out a lot better than I thought it would. Even though I didn't plan any of it out it isn't all that bad. While doing this project I learned that it okay to wing it because something extraordinary could come out of it, well I mean not that didn't happen to me this time but it could and even if nothing good comes up you can make extraordinary. 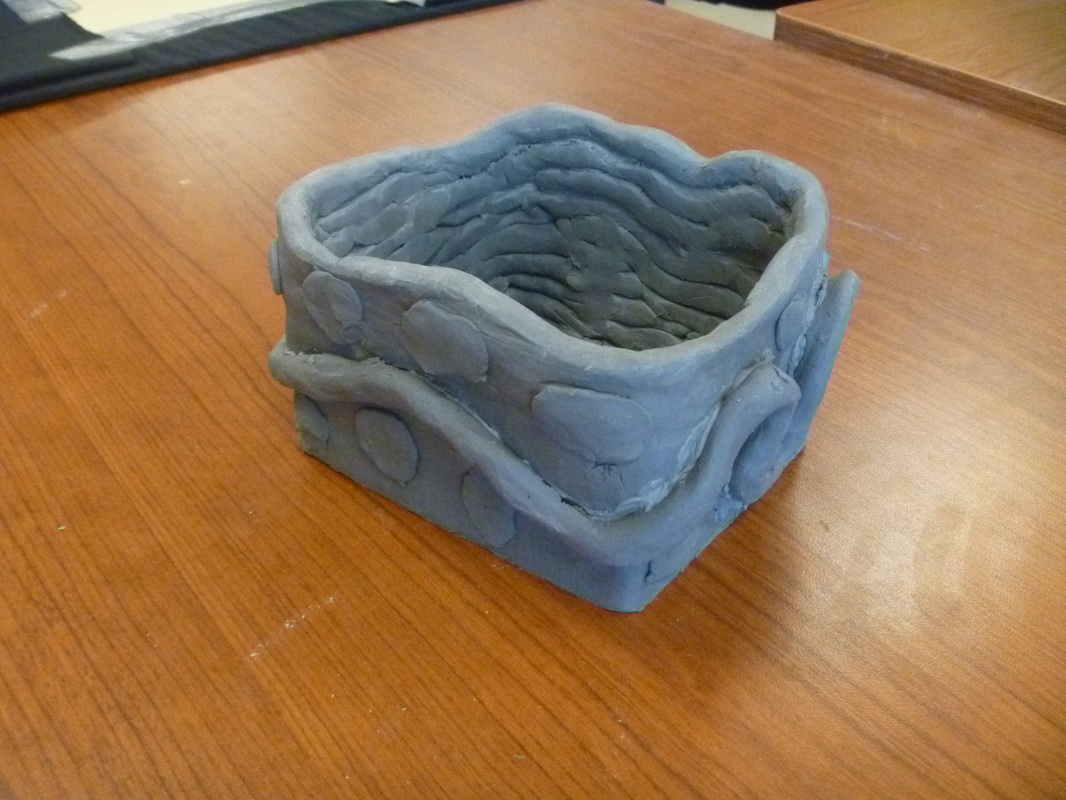
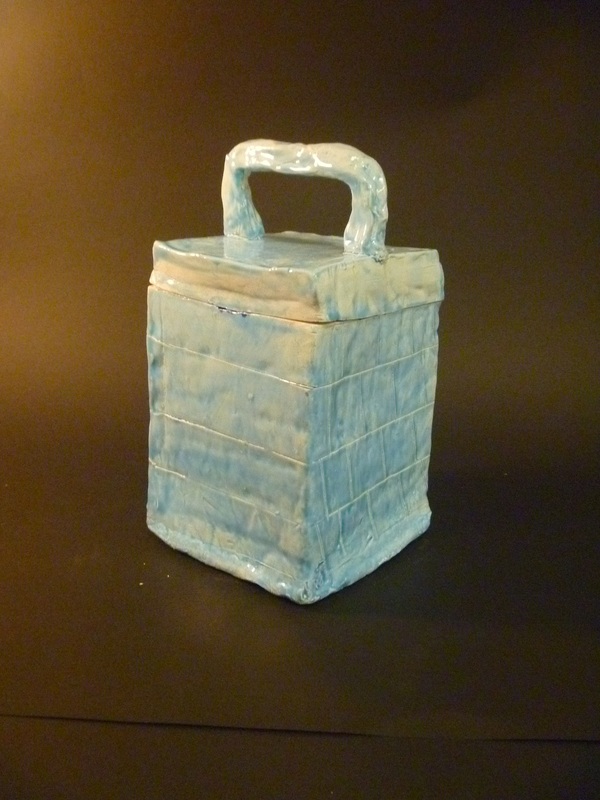
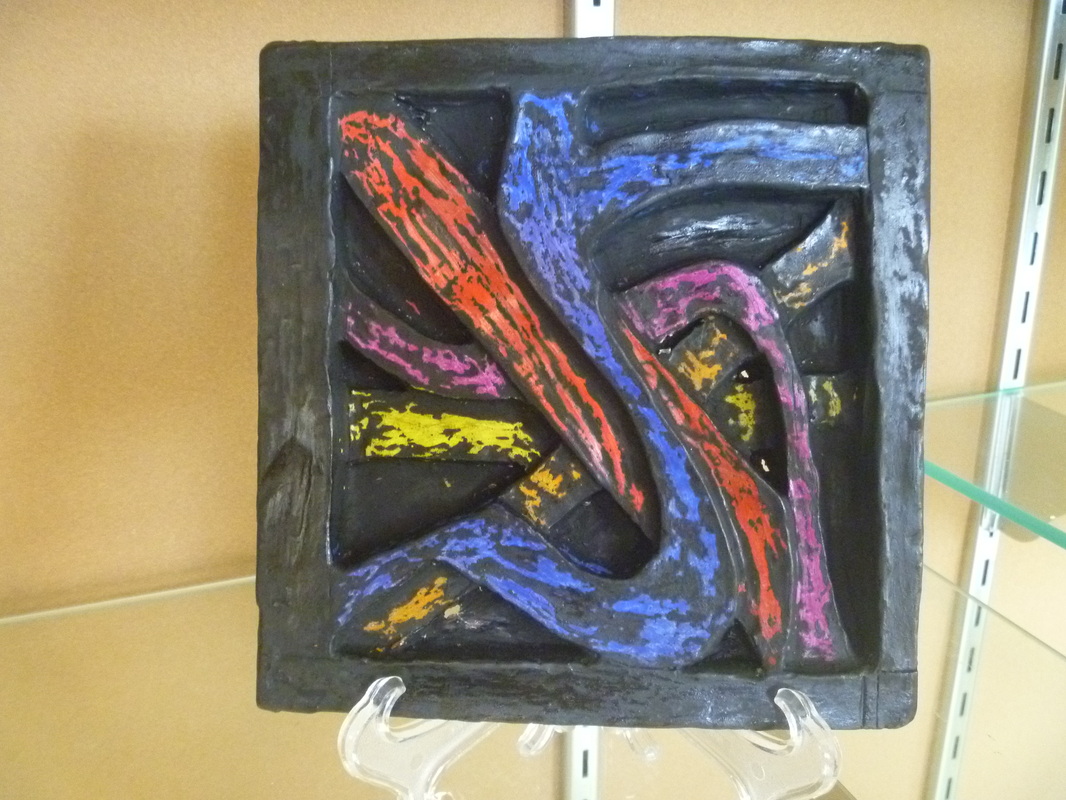
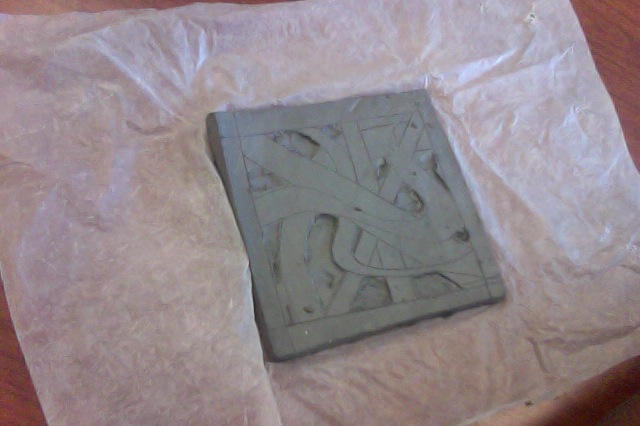
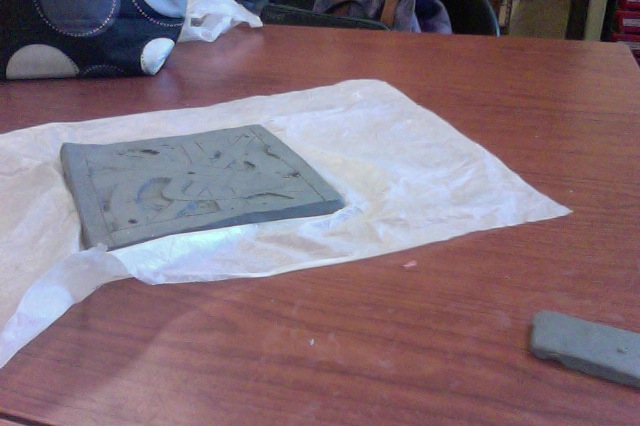
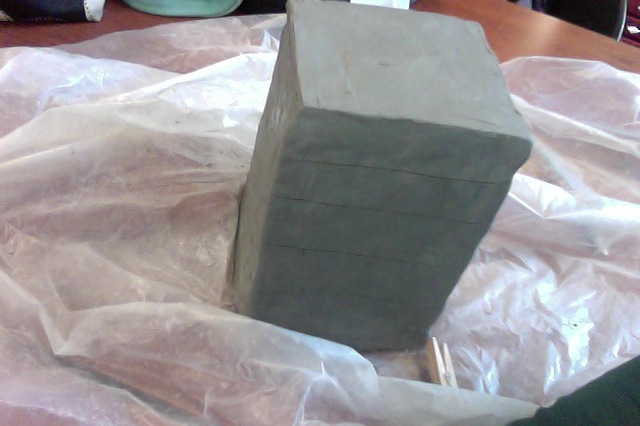
Out of all the project I've done this year, I've had good and bad ideas. But I would say the tile project is my best and most creative piece of work. Although I didn't really plan out the design of my tile, I kinda just jumped right into it and just improvised. I lightly traced out the lines and made sure they went where they needed to be. Then after I did all that I was carefully carving away the clay I didn't need so that the tile came out the way I was picturing it. Then when that was done I decided to pick the colors that were dark but also a little bright to give a night time feeling. The project I overcame the most obstacle but the project still didn't come out the way I wanted it to, was the box. The reason I chose the box is because I messed up so many times but was still able to finish it and have it look decent. One of the obstacles was the slabs. I made my slabs way too thick but continued to proceed with the box. The next obstacle was that I didn't put any clay on the inside corners of my box but it was still able to hold itself. And that's about all the obstacles I had during the box project. The best two pieces of my art that show my artistic strength would be the tile that one is my favorite, and the spoon which was our first project of ceramics. The way the spoon shows my artistic strength is how I carefully planned out what kind of objects I wanted placed on it. Which was the cross that represent my christian religion. The track foot that represents my love and determination for track and I can't remember the next object oh yeah my initials. The way the tile shows my artistic ability is the way I just went off the top of my dome and jumped right into it. Tracing, carving and improvising as I continued to finish my tile. The limitations on clay only doesn't really bother me, I thought thats all we do in ceramics is mess with clay. The only frustrations I have is when my project doesn't look as good as I plan for it to look. The positives of working with one medium is that, that is the only medium you have to worry about and working with clay is fun to me. I enjoy it. 
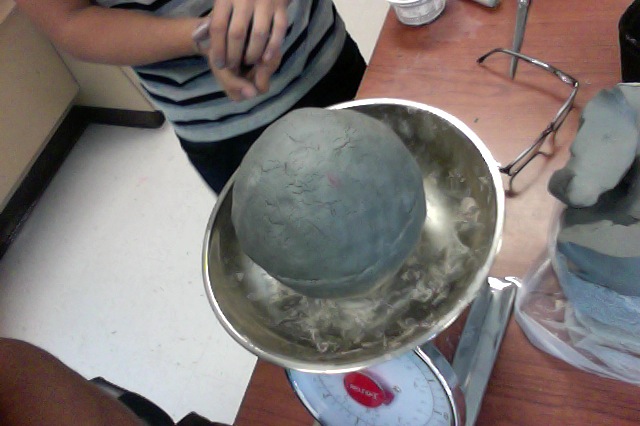
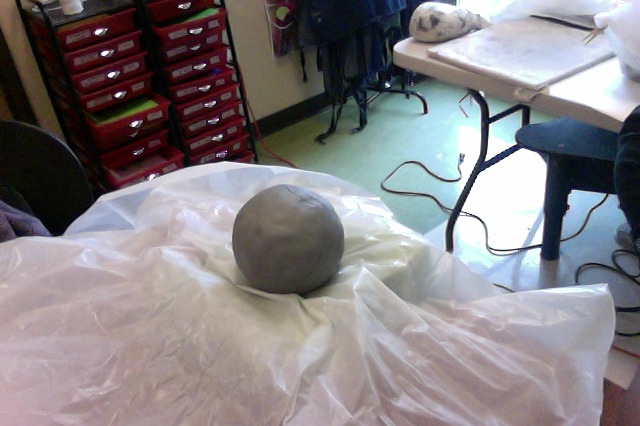
During this project I used artist collaborations with Jennifer by helping her with the problems I had and helped her not make those mistakes. While helping make her sphere we then ran into a problem. The problem was we made the sphere to skinny and that was a problem when we laid it on the styrofoam. Artist create original artI believe my work is original because, I didn't have any inspirations. I also just wing the design onto my sphere so I didn't really use any influences. So that is how my sphere is original. Artist Take RiskI take risk on all my projects because I just wing it and see how it looks at the end. Like for this project instead of planning my design I will just wing it and see how it looks at the end. The design Im winging right now looks like a bunch of lines but Im not finish I still have to carve.
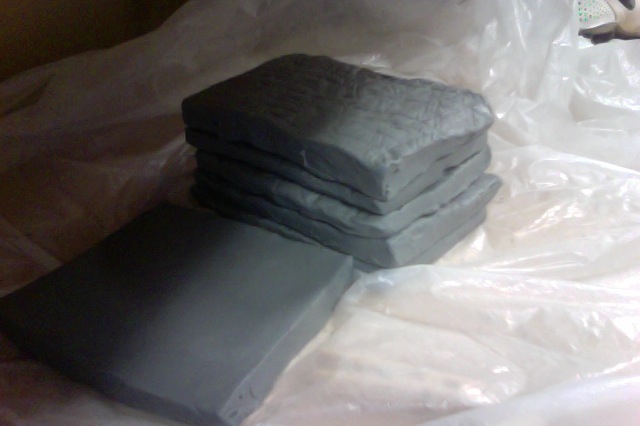
During our slab carving project I started out not knowing how to do the carving thing. I would use the wrong sized tool for a certain area or just carve and don't realize how far deep I went. But now I gotten better and it is actually looking good. PlanningBefore I started carving I had to roll out my slab and cut a 5 by 5 inch slab. Then I had to lightly trace a picture of what I wanted to be carved. At first I didn't know what to draw so I began drawing lines with a curve and when I got done with that I had a pretty good picture. Problem SolvedAs I began to carve I had two problems. First I started to carve too deep so I fixed that by adding more clay in that area and smoothed it out. The second problem was I didn't have enough dimensions because I forgot I had to have four and I was lucky I didn't go too far into the project or I would have to start over. So I just added more dimensions and I was fine. 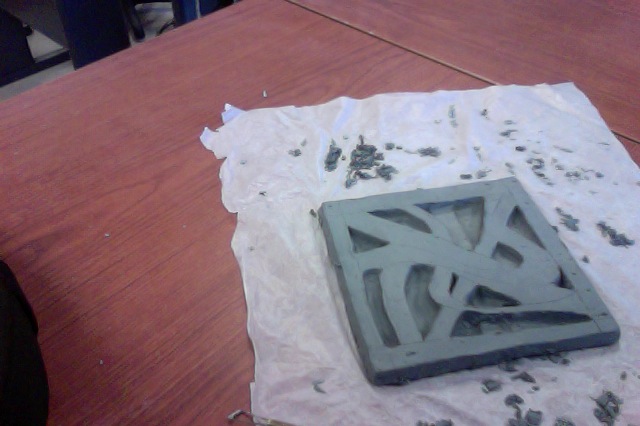
When I put the slabs together my box looked really ugly so I decided to just wipe my designs away and put a new design on it. While I was wiping my box I needed to carve some of the clay away in order for it to look even. After that was done it looked pretty decent now I just have to do the design. New WaysAfter I had already put my box together and began to erase my design and carve my box enough to look decent, I found it easier to carve the box out. The only thing is I kept cutting more clay off then I needed so I had to keep smoothing clay onto the box. But that is the new way I found to cut the box out. 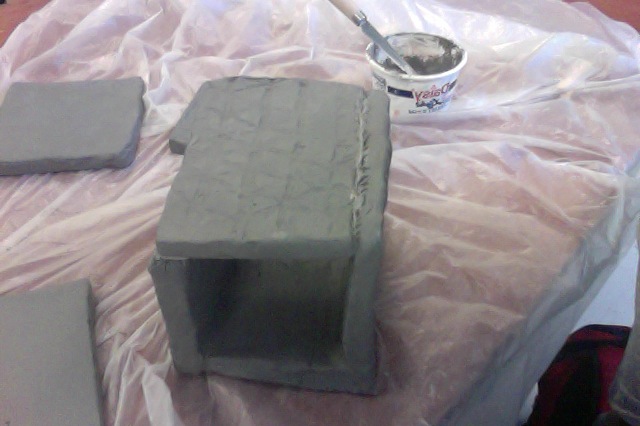
At the beginning of the texture roller project we had to draw the design we wanted onto the roller. I had a design drawn on the roller but I didn't like the way the design was looking and didn't feel like erasing it, so I decided to take a risk. The risk was instead of following the pattern drawn on the roller I decided to just go straight to the glue gun part and glue a pattern on the roller that started off bad but turned out to put a pretty cool texture into the clay. Different size slabBefore the slab making process I wanted my slabs to be a bit different from everybody I guess. I really didn't intend on making my slabs different they just happened that way and the difference was that my slabs were thicker than everyone else's and instead of making my slabs normal I kept them the same. So that is the way I created original piece of art. 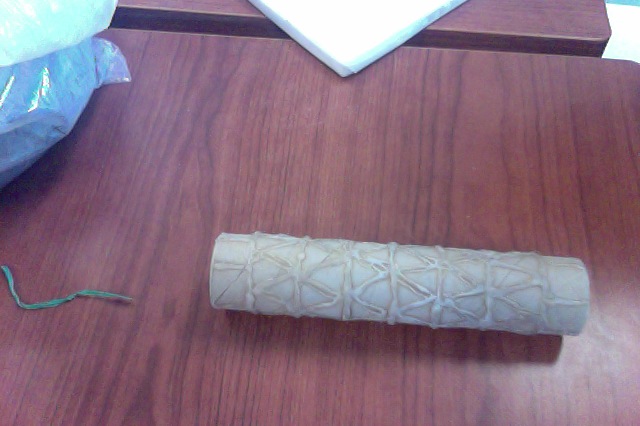

On our first project of the year which is the Totem Spoon, I've made a risk by letting my additional piece dry to greenware and not knowing what would happen. What had happen was, that I had just got done scoring and slipping the additional piece on to the spoon and I wanted it to be able to stay and not lean to the side of the spoon. So I took it off and let it dry a little so it wouldn't lean and it turned out that I was still able to score and slip and put it together. ProblemsDuring the making of my Totem Spoon, I ran into a problem and the problem was that I let my spoon dry out to much. When it dried out, my spoon was fragile at the end of the spoon so when it dried out it had broke off. So what I did was I scored and slipped the spoon and the stick part together then sprayed the whole thing with water until it was soft again and molded it back together.
| AuthorWrite something about yourself. No need to be fancy, just an overview. ArchivesCategories |


 RSS Feed